In this post, I wanted to show you last weekend’s project – making bread.
I love making bread and specifically I love my breadmaker. I could bore you for hours about my breadmaker love. But this time I didn’t use the breadmaker, I used the sewing machine - I made felt bread. In fact, a felt sandwich!

It’s my niece's 3rd birthday this week and her parents have bought her a play kitchen so I’ve made her a felt sandwich as something for her to prepare in her kitchen.
I was originally inspired by this felt food on Craftster and found these patterns and instructions.
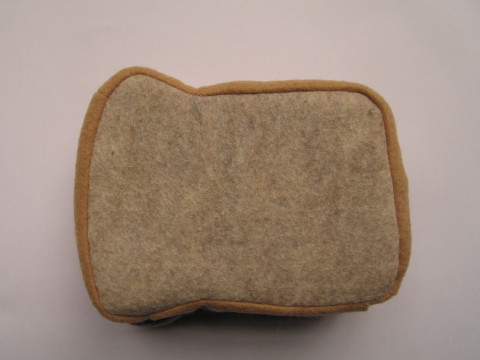
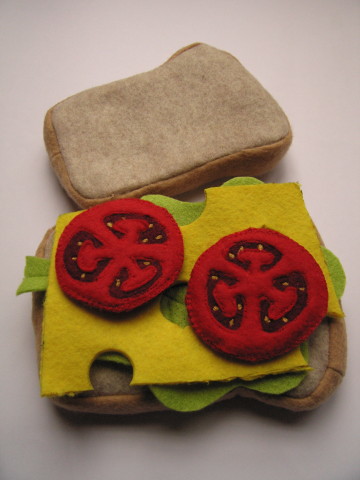
Bread
Now, I’m too lazy for the hand sewing all these patterns suggested and decided to machine stitch the bread instead. Big mistake!
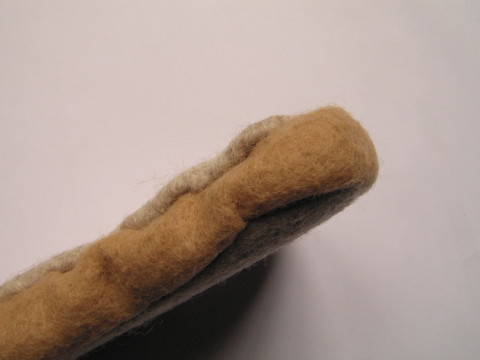
I added seam allowances to the bread pieces but had terrible difficulty sewing an even width crust. I ended up unpicking the stitching twice until I gave up and hand sewed the rest. For the second slice, I pinned the crust round the corners for all I was worth and machine stitched one side and hand stitched the other. The result ws a lot better but I would still like to be able to machine stitch both sides nice and evenly. It took me over four hours just to make the two slices of bread.
Swiss cheese
Last year I read Margaret Beal’s fantastic book, Fusing Fabric. So for the Swiss cheese, I used her method of fusing the two layers of felt and cutting shapes with a soldering iron. Although I am an electronic engineer, I haven’t done any soldering in years and managed to get a bit tangled and melted the cable protection a bit! Fortunately, it is still intact and safe to use.
The cheese slice took me all of 10 mins to make and it was great to try a new technique.

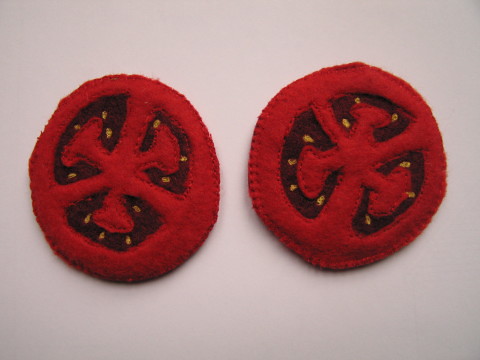
Tomato slices
I then tried to use the soldering iron to cut out the fiddly tomato slices but found the edges where I’d melted the felt were too burnt and the end result didn’t look good. So, back to stitching…
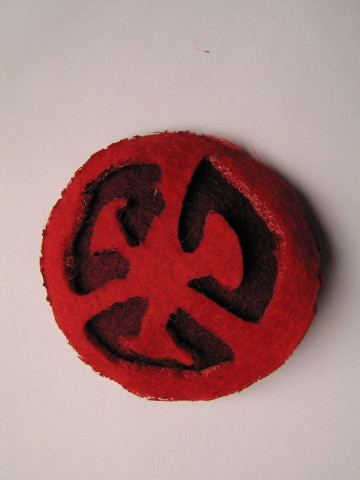 |
| Prototype soldered tomato slice |
I used oneinchworld’s method but stitched the two sides together as I don’t have the needle felting kit. Also, I free machined the seeds. I’m very happy with the results but it was rather time consuming.
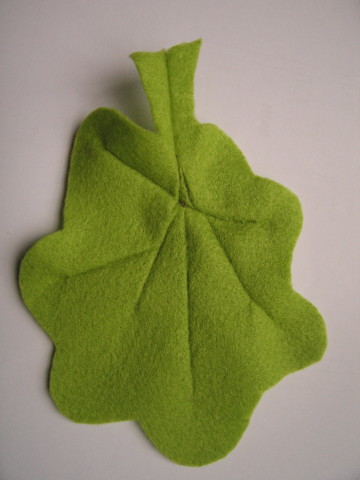
Lettuce
Finally, the last piece was the lettuce which was very straightforward.
So, here is the result:
We certainly had fun playing with it and despite the 10+ hours it took to make, I am now thinking of making a set for us to keep!
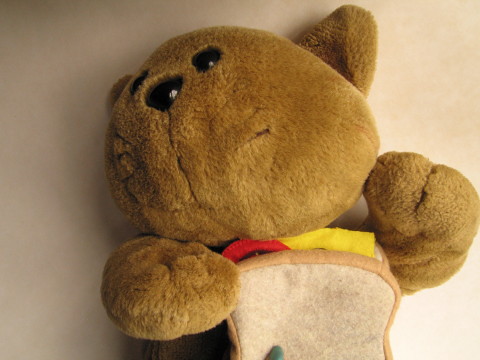 |
| Bob likes messy food which I don't let him have. A felt sandwich satisfies both our requirements. |
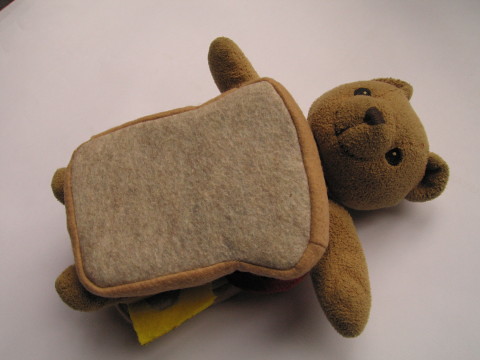 |
| The bear tries on the sandwich for size before clambering around wearing a 'sandwich board', shouting "Golf Sale"! |
2 comments:
Love your felt sandwich - very cute :-) I too find hand sewing all the little felt pieces a bit of a faff so hearing about your no sew methods is great (I never would have thought to attack a piece of felt with a soldering iron!)
You should give crochet a go - much quicker for play food construction I find!
Came across your blog, as I'm searching articles on faux food (reason why my comment is a little late). Have made some for my Grand Daughter and am hoping to make more.
You did a fantastic job BTW and I have to agree ... the tomato slice is a challenge. :) -Brenda-
P.S: I hope you don't mind me giving you the following TIP: Re construction using a sewing machine ...if you use your straight-stitch pressure foot as a guide for adding seam allowances to your pattern pieces 1st (prior to cutting out the fabric) you may have more success when it comes to stitching. ALSO, if you have a machine that you can adjust the needle position, then all the better.
I realize adding s/allowances to the pattern(s) sounds like extra work, but in the long run long it makes construction a lot easier.
Post a Comment